Contents of the guide Show ▾
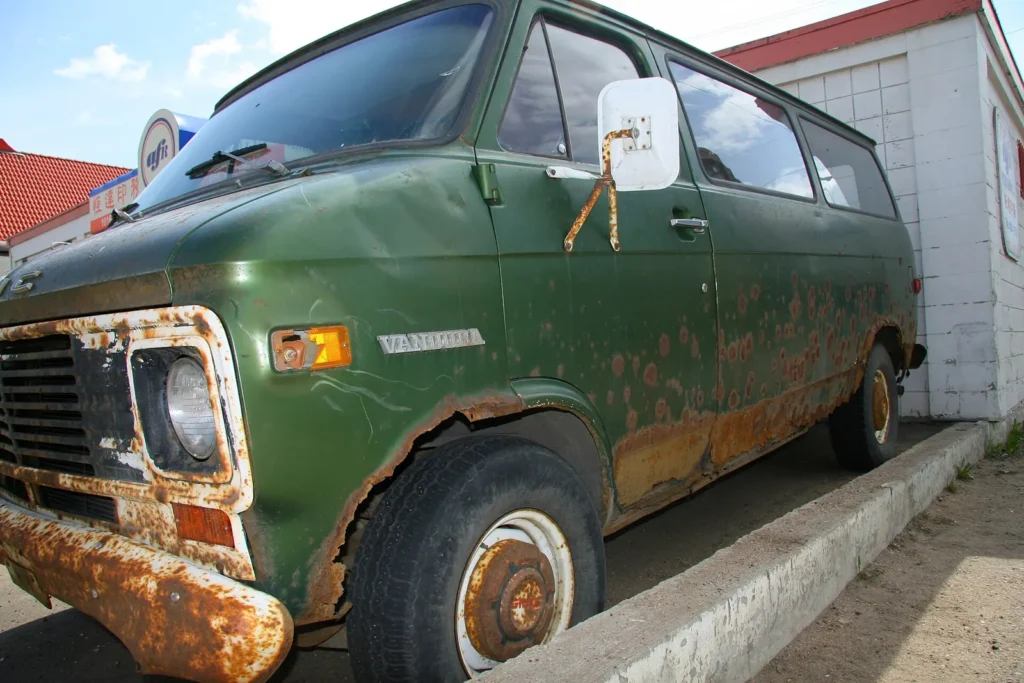
Quick answer Rust-proof a panel-van conversion in three steps. Find and fix existing rust before you build, protect every hole you drill or cut in the body with anti-rust primer and paint before anything is fitted, and treat the chassis members and underbody with cavity wax and underbody protection at regular intervals. Most rust damage on converted vans starts at an unprotected cut edge, a blocked drain hole or in seams where water sits.
This guide covers the risk zones on common base vehicles, how to drill holes properly for windows, the roof fan and cable entries, which product types are used and how often the rust protection needs checking in a Scandinavian climate with road salt and damp. Rust protection and cutting holes are the first step in the practical build order when you convert a van into a campervan.
The essentials at a glance
- Fix it before the build. Once the walls and floor are in, it is hard to get at the rust.
- Every hole is a new rust risk. Deburr, clean, prime and paint the cut edge before fitting anything.
- Keep the drain holes clear. Insulation and wax must not block them.
- Cavity wax in chassis members and doors, underbody protection on the bottom. Check every year or every other year.
- Condensation from inside is as dangerous as salt from outside. Ventilation and the right insulation protect the metal.
Why do vans and panel-van conversions rust?
Rust forms when steel is exposed to water and oxygen. Road salt, dirt that holds moisture and temperature changes speed it up. A van converted into a motorhome also gets new risk zones: holes in the roof and walls, screws through the floor, insulation that can hold moisture against the metal, and condensation from cooking and breathing when someone sleeps in the van.
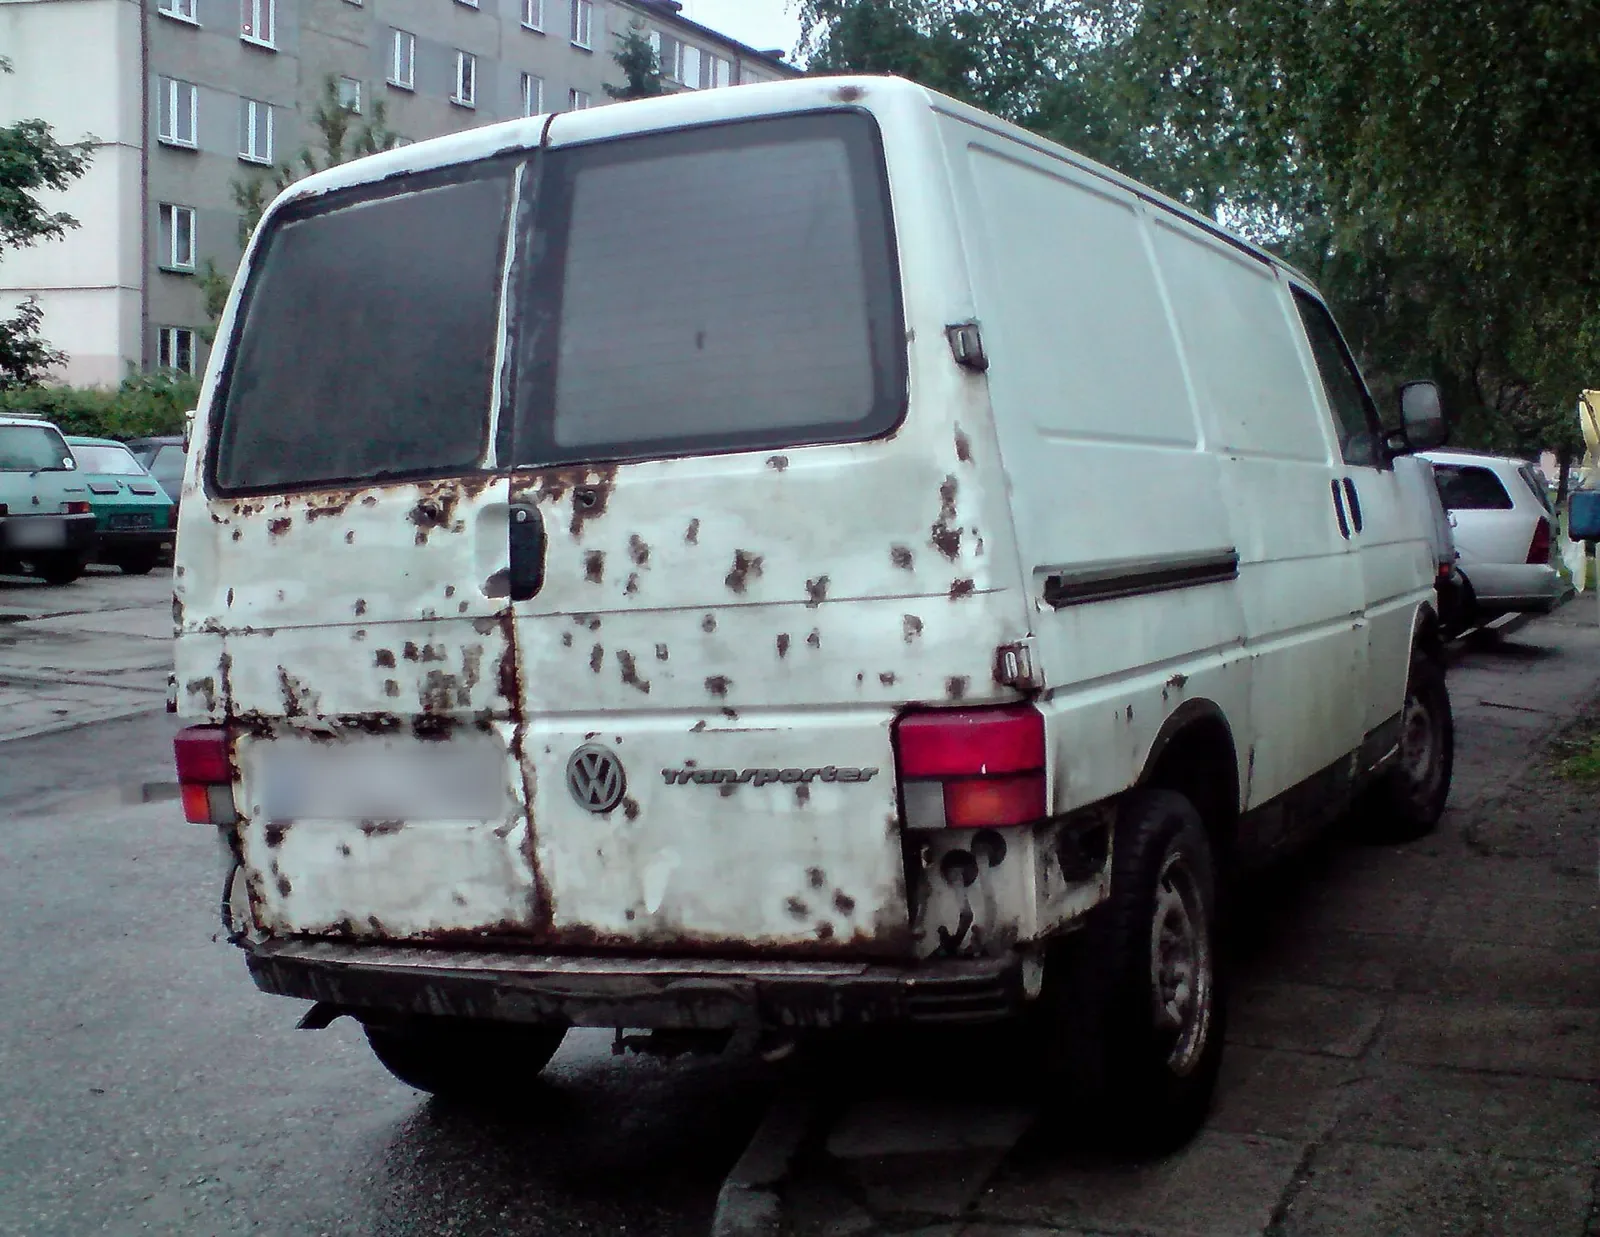
In load-bearing parts, rust is not just cosmetic. Under Swedish rules, heavy rust in the chassis members, spring mounts or load-bearing parts of the body is a fault at the periodic inspection and can lead to a driving ban. Read more about inspection in the guide on rules, weight and inspection (in Swedish).
Risk zones on common base vehicles
| Area | Why it rusts | What to do |
|---|---|---|
| Rear wheel arches and wing edges | Grit and salt blast off the paint, dirt collects in folds | Wash, inspect, wax in the folds, mud flaps |
| Sills and bottom edge of the doors | Water runs down into the door and stays if the drainage is blocked | Clear the drain holes, cavity wax |
| Floor under the cab and at the entry step | Moisture from shoes and mats, stones from the front wheels | Lift the mats, dry, underbody protection |
| Chassis members and cross members | Inner cavities that never dry | Cavity wax through existing holes |
| Spring mounts and rear axle | Load, stone chips and salt | Clean, anti-rust paint or underbody protection |
| Roof and roof rails | Standing water, screw holes from rails and panels | Seal with suitable sealant, check every year |
| Holes from the conversion | Unprotected cut edges | Prime and paint before fitting |
The table applies to all vans. Here is what is known per base vehicle. The details on inspection faults come from the German TÜV report for vans, which auto motor und sport (a German motoring magazine) summarised in September 2025.
Fiat Ducato, Peugeot Boxer and Citroën Jumper
Older generations, especially before 2014, rust in the rear wheel arches, sills, bottom edges of the doors and spring mounts. In the TÜV report, rust is among the Ducato’s typical age-related faults, together with oil leaks and brake problems. A run-through per generation is in the guide on common Fiat Ducato faults.
Mercedes Sprinter
From about six years of age, faults on the Sprinter rise clearly, above all on brake lines and suspension. Rusted brake lines are a safety issue. We have not found a maker or trade press source that ranks rust spots per Sprinter generation. More in the guide on common Mercedes Sprinter faults.
Ford Transit
The Transit gets faults on steering joints and brake lines from about four years of age. Look at the brake line mounts and the front suspension while you are lying under the van anyway. More in the guide on common Ford Transit faults.
Before the build: survey and fix
- Wash the underbody thoroughly, ideally with a pressure washer, and let it dry.
- Inspect with a lamp and a small screwdriver. Surface rust that brushes off is maintenance. Rust that flakes, bubbles or can be poked through needs repairing.
- Repair holes and rust-through properly. Load-bearing parts should be welded by someone who knows how, not filled.
- Treat surface rust: brush or sand off loose rust, clean and degrease, use rust converter where recommended, prime and paint.
- Clear the drain holes in doors, sills and floor before you insulate.
Common mistake Putting underbody coating straight onto rust. The coating seals in the moisture and the rust carries on under the surface. Always clean and dry first.
Cutting holes: how to rust-proof cut edges
Windows, the roof fan, a diesel heater, the water filler and cable entries all need holes in the metal. Every hole exposes bare metal and is one of the most common sources of rust in self-built conversions. Do this every time:
- Plan the position. Avoid chassis members, reinforcements, wiring and airbags. Check the maker’s body builder guidelines for the base vehicle, which say where you may and may not cut holes.
- Tape and mark so you don’t scratch the paint around the hole.
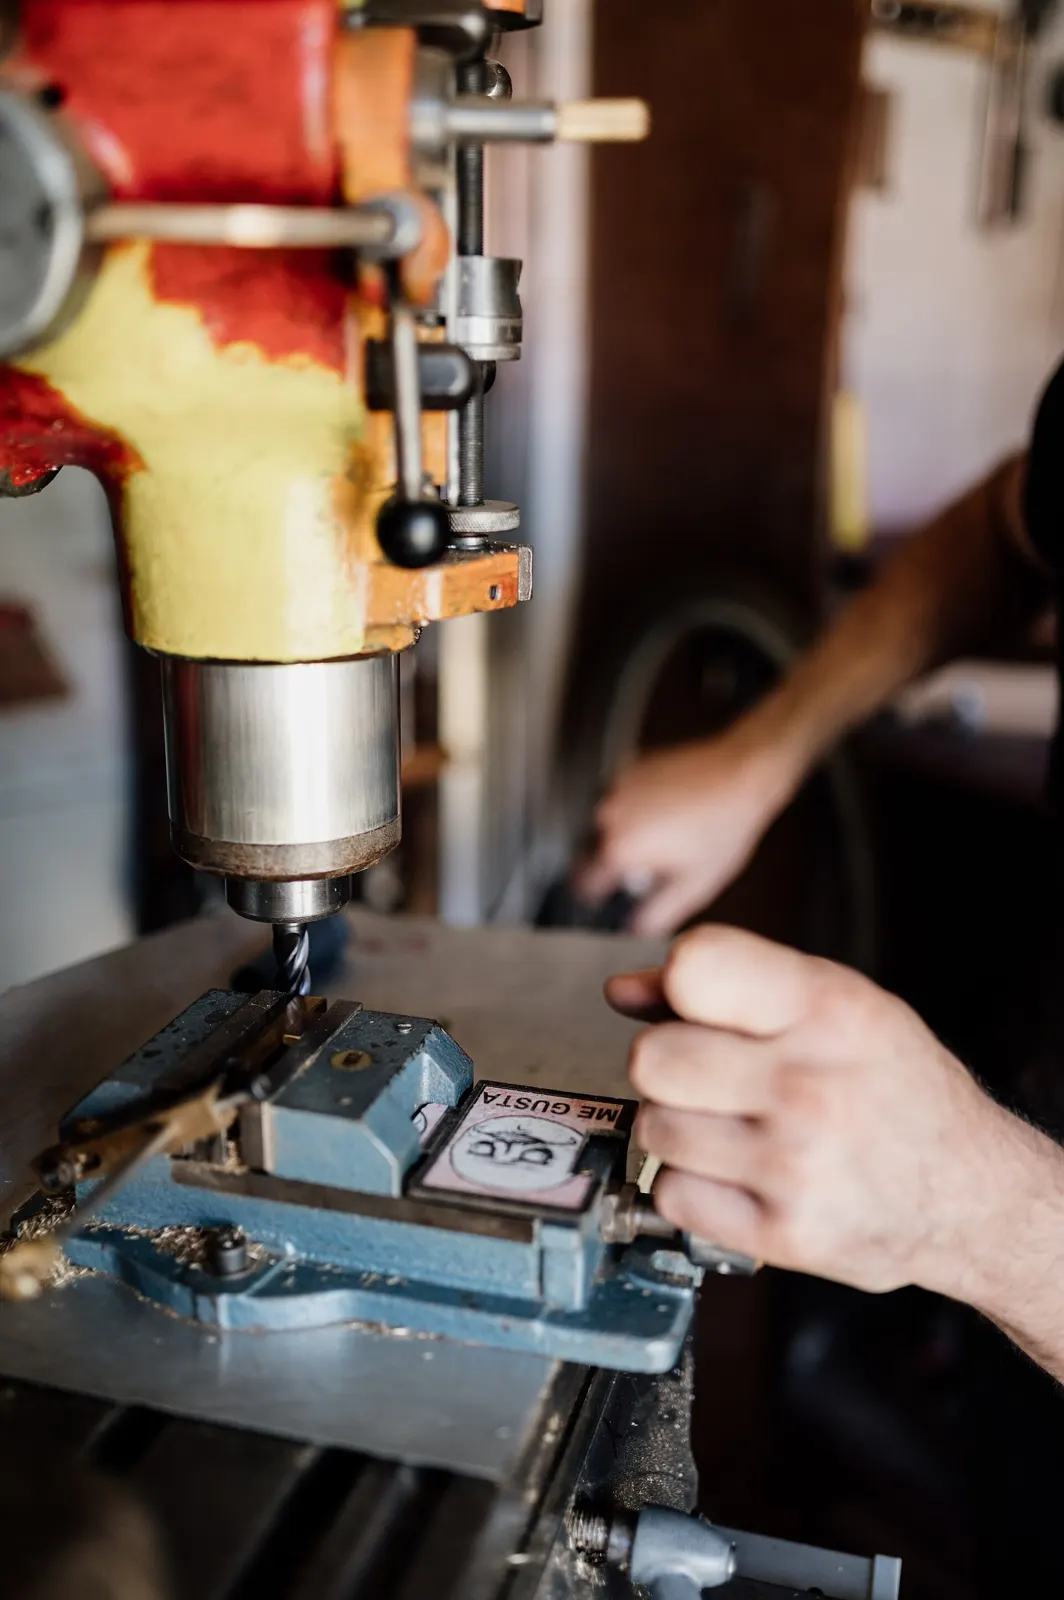
- Drill or cut with a sharp tool. Use a step drill or hole saw for round holes and a jigsaw with a metal blade for larger ones.
- Remove the metal swarf straight away, both outside and inside. Hot swarf burns into the paint and rusts within a few days.
- Deburr the edge with a file or deburring tool.
- Clean and degrease the edge.
- Prime the cut edge with anti-rust primer and let it dry according to the product instructions.
- Paint over it so the edge is completely covered.
- Fit with the right sealant, for example a sealant made for vehicles and the part in question. Check that the sealant covers the whole flange.
- Use grommets with rubber protection for cables, so the insulation doesn’t chafe against the metal.
Tip Put a magnet or tape sticky side out around the drilling point to catch swarf. And check the roof once more afterwards, because swarf blown into a seam only shows once it has started to rust.
Screws through the floor and metal
Screw directly into the outer skin as little as possible. Use existing mounting points, rivet nuts in load-bearing parts or mounts the maker specifies. Every screw that goes through should be sealed, and the hole should be rust-proofed the same way as larger holes.
Product types: what is used for what?
| Product type | Used for | Keep in mind |
|---|---|---|
| Anti-rust primer | Cut edges, repaired areas | Must be covered with paint |
| Cavity wax or oil | Chassis members, doors, sills, inner cavities | Creeps into gaps, sprayed with a long-hose nozzle |
| Underbody protection (wax or bitumen-based) | Underside, wheel arches | Apply to clean, dry metal, not over rust |
| Rust converter | Surface rust that can’t be sanded off completely | Follow the instructions, doesn’t replace primer |
| Vehicle sealant | Sealing windows, roof fan, cable entries | Choose the type by material and the maker’s recommendation |
We don’t recommend individual brands. Follow the product data sheet for preparation, drying time and temperature, and use protective equipment when spraying.
Rust from inside: condensation and insulation
Sleeping, cooking and drying clothes create moisture. When it meets cold metal it condenses. Behind insulation and wall panels the water can sit for months without you noticing.
- Rust-proof the inside of the metal and the chassis members before you insulate.
- Choose insulation that doesn’t soak up water and that sits tight against the metal without air pockets.
- Don’t block the holes in the chassis members or the drain holes with insulation.
- Ventilate: a roof fan, airing and a heating system that keeps the van dry in winter.
- LPG heaters and diesel heaters with the exhaust going outside give dry heat. Open combustion inside the van adds moisture.
How often does a panel van need rust-proofing?
In a Swedish climate with salted roads, a yearly check is a good routine, ideally in autumn before the salting starts or in spring once the salt has been washed off. How often the treatment needs redoing depends on how the van is used and stored.
| Use | Check | Treatment (roughly) |
|---|---|---|
| Driven all year on salted roads | Every autumn and spring | Touch up every year, bigger treatment every other year |
| Summer vehicle, stored dry over winter | Every year | Every two to three years |
| Stands outside under a tarpaulin | Every year, inside too | More often, a tarpaulin can hold moisture against the metal |
The intervals are approximate values from experience. Go by what you see during the check.
When buying a used panel-van conversion
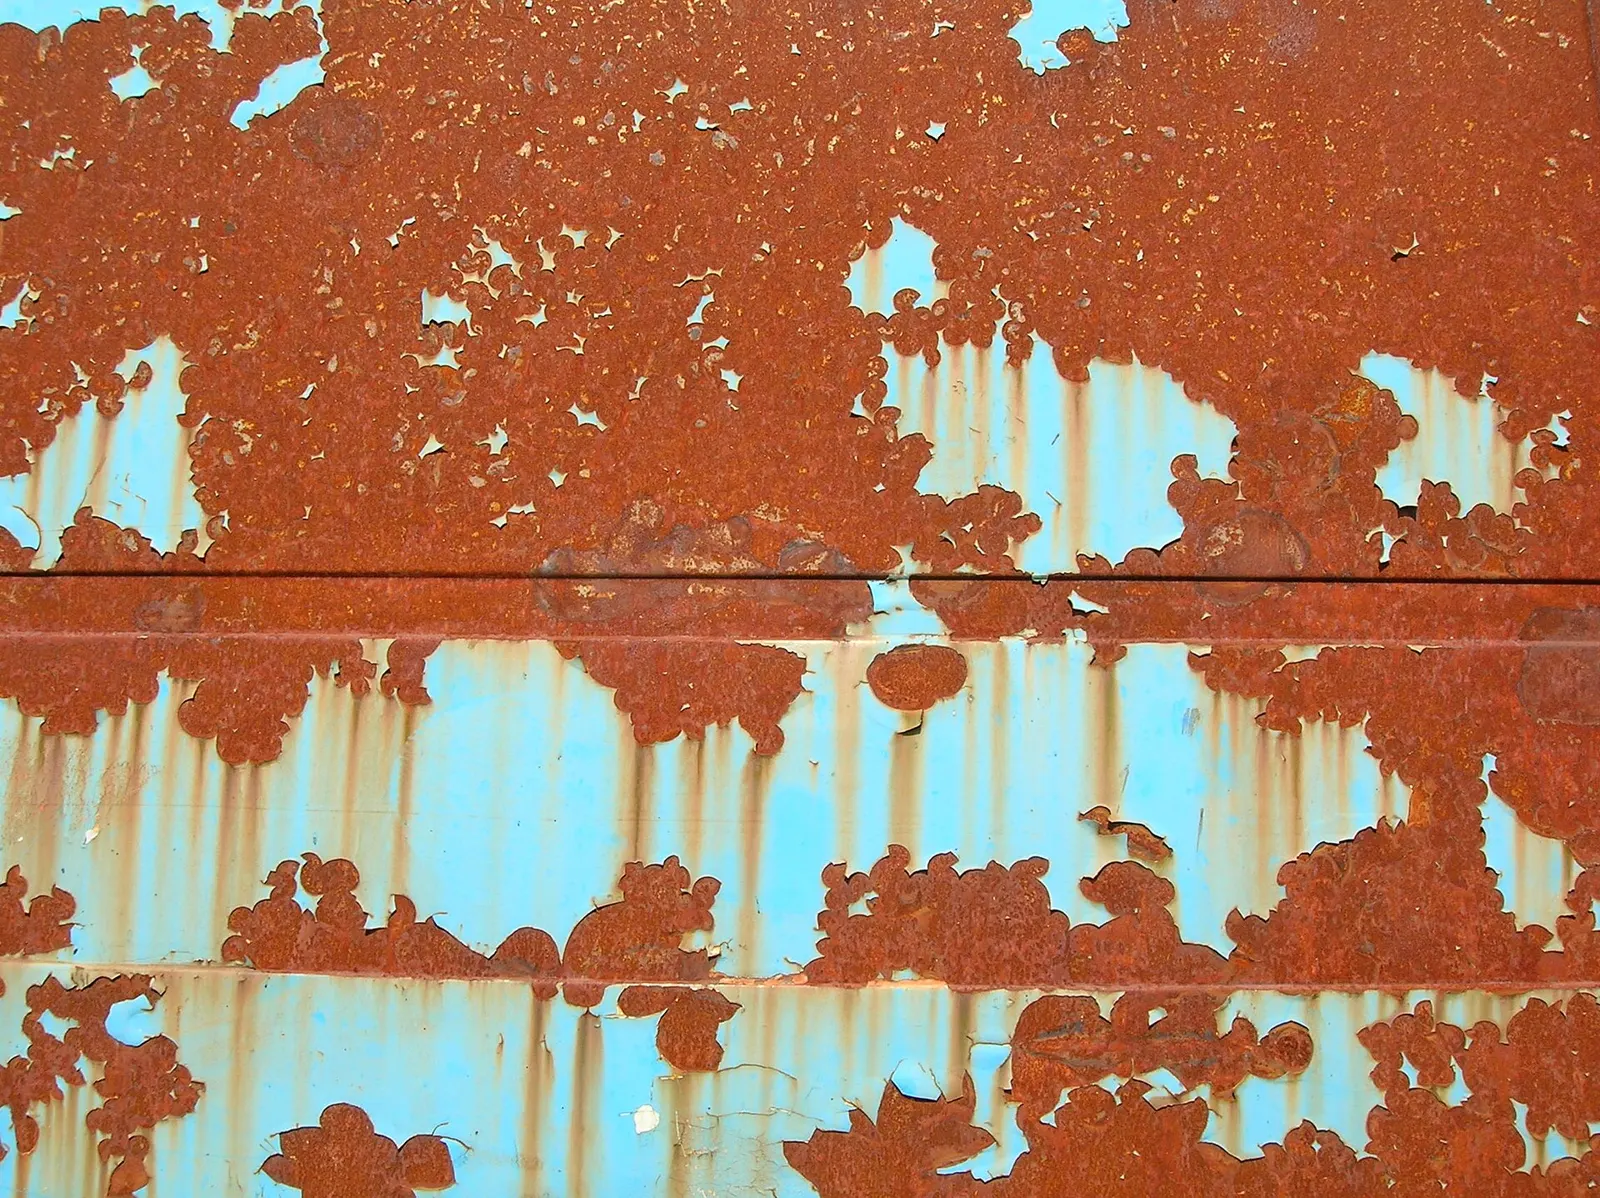
Take a lamp and lie down under the van. Look for freshly painted underbody coating that can hide repairs, tap on suspect areas and ask when and where the van was last rust-proofed. The full check is in the buying checklist for a used campervan and in the inspection checklist tool.
Rust protection is a good first step before you build. Once the interior is finished you can re-register the van as a motorhome (Swedish rules).
Frequently asked questions
How do I rust-proof a drilled hole in the metal?
Remove all swarf, deburr the edge, clean and degrease, prime the cut edge with anti-rust primer, paint over it and fit with a suitable sealant.
How often should a motorhome be rust-proofed?
Check every year. A vehicle driven on salted roads needs touching up every year, while a summer vehicle stored dry over winter often manages with treatment every two or three years.
Can I put underbody coating on rust?
No. Underbody coating over rust seals in the moisture and the rust carries on. Remove loose rust, clean, dry and prime first.
Where does the Fiat Ducato rust most?
Typically in the rear wheel arches, sills, the bottom edge of the rear doors, the floor under the cab and the spring mounts, especially on older generations.
Should I rust-proof before insulating a campervan?
Yes. Rust-proof the inside of the metal and the chassis members, and make sure the drain holes are clear before the insulation goes in.
Can rust make a motorhome fail its inspection?
In Sweden, yes. Heavy rust in load-bearing parts is a fault and can lead to a driving ban. Surface rust on non-load-bearing parts is not normally a fault.
Sources
- Transportstyrelsen (the Swedish Transport Agency), Vehicle inspection (in Swedish)
- Transportstyrelsen, Passenger car (passenger car class II) (in Swedish)
- auto motor und sport, “Sprinter, Crafter, Transit und Co.: Typische TÜV-Mängel dieser 11 Transporter” (in German), 28 September 2025
Last checked: October 2026.
New checklists and guides, plus reminders before winter storage and inspection. A few emails a year, nothing more.
The content is based on my own experience and the rules that applied when the text was written. Rules can change, and I am not responsible for factual errors or rule changes that affect your build or maintenance. Read the full disclaimer.

Linus Thell
Founder of Camperliv.se. Has worked with vehicles for essentially all of his adult life.
Read more about Linus →