Contents of the guide Show ▾
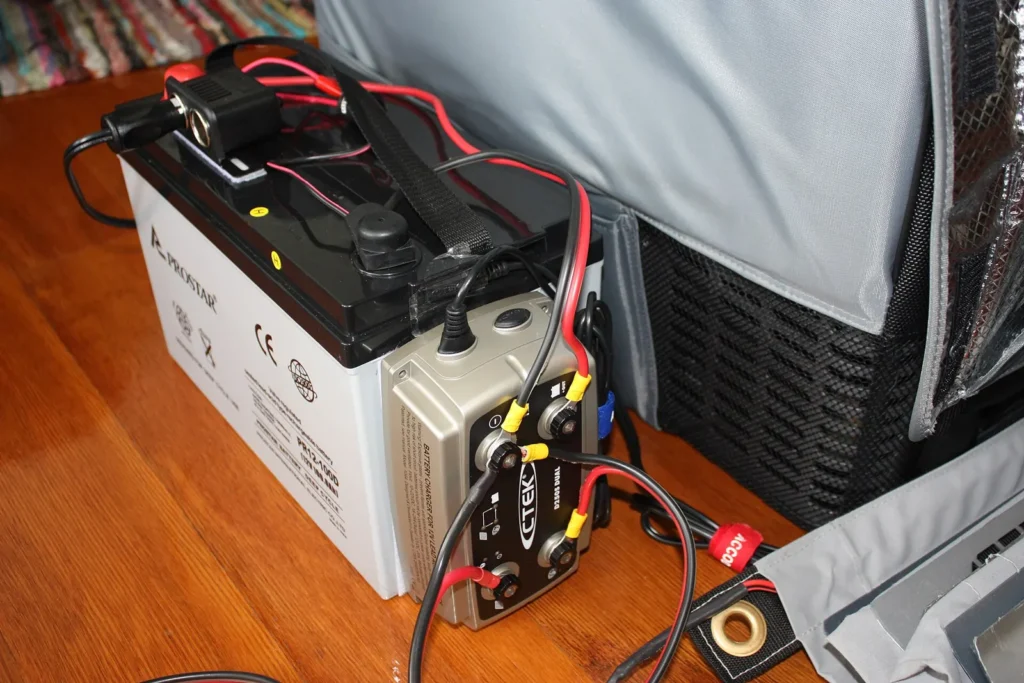
Quick answer A campervan electrical system has four parts: a leisure battery that stores energy, charging sources that top it up (the alternator via a B2B charger, solar panels and mains hook-up), a fused distribution to the loads and, if you want 230 volts, an inverter. Start by working out your daily consumption, size the battery to match it and choose charging sources that can put back what you use. Fuses close to the battery and the right cable size are what make the system safe.
This pillar guide gives you the full picture. 12 V electrics is one of the stages in Camperliv’s campervan conversion guide. For more depth there are separate guides on B2B chargers and smart alternators, how much solar you need and troubleshooting a battery that keeps going flat.
Checklist as PDF: Electrical system checklist (in Swedish). All checklists
The essentials at a glance
- Calculate first, buy later. Daily consumption in amp-hours (Ah) drives everything else.
- Keep the starter battery and the leisure battery separate so that you can always start the van.
- Modern vans need a B2B charger because smart alternators do not give a stable charging voltage.
- Fuse every positive cable close to the battery. The fuse protects the cable against fire.
- 230 volts calls for extra care. Under Swedish rules you do not need an electrician to install 230 V in a motorhome or campervan; that requirement applies to buildings. 230 volts can still be lethal, so use a residual current device (RCD) and, ideally, have someone who knows electrics check the installation.
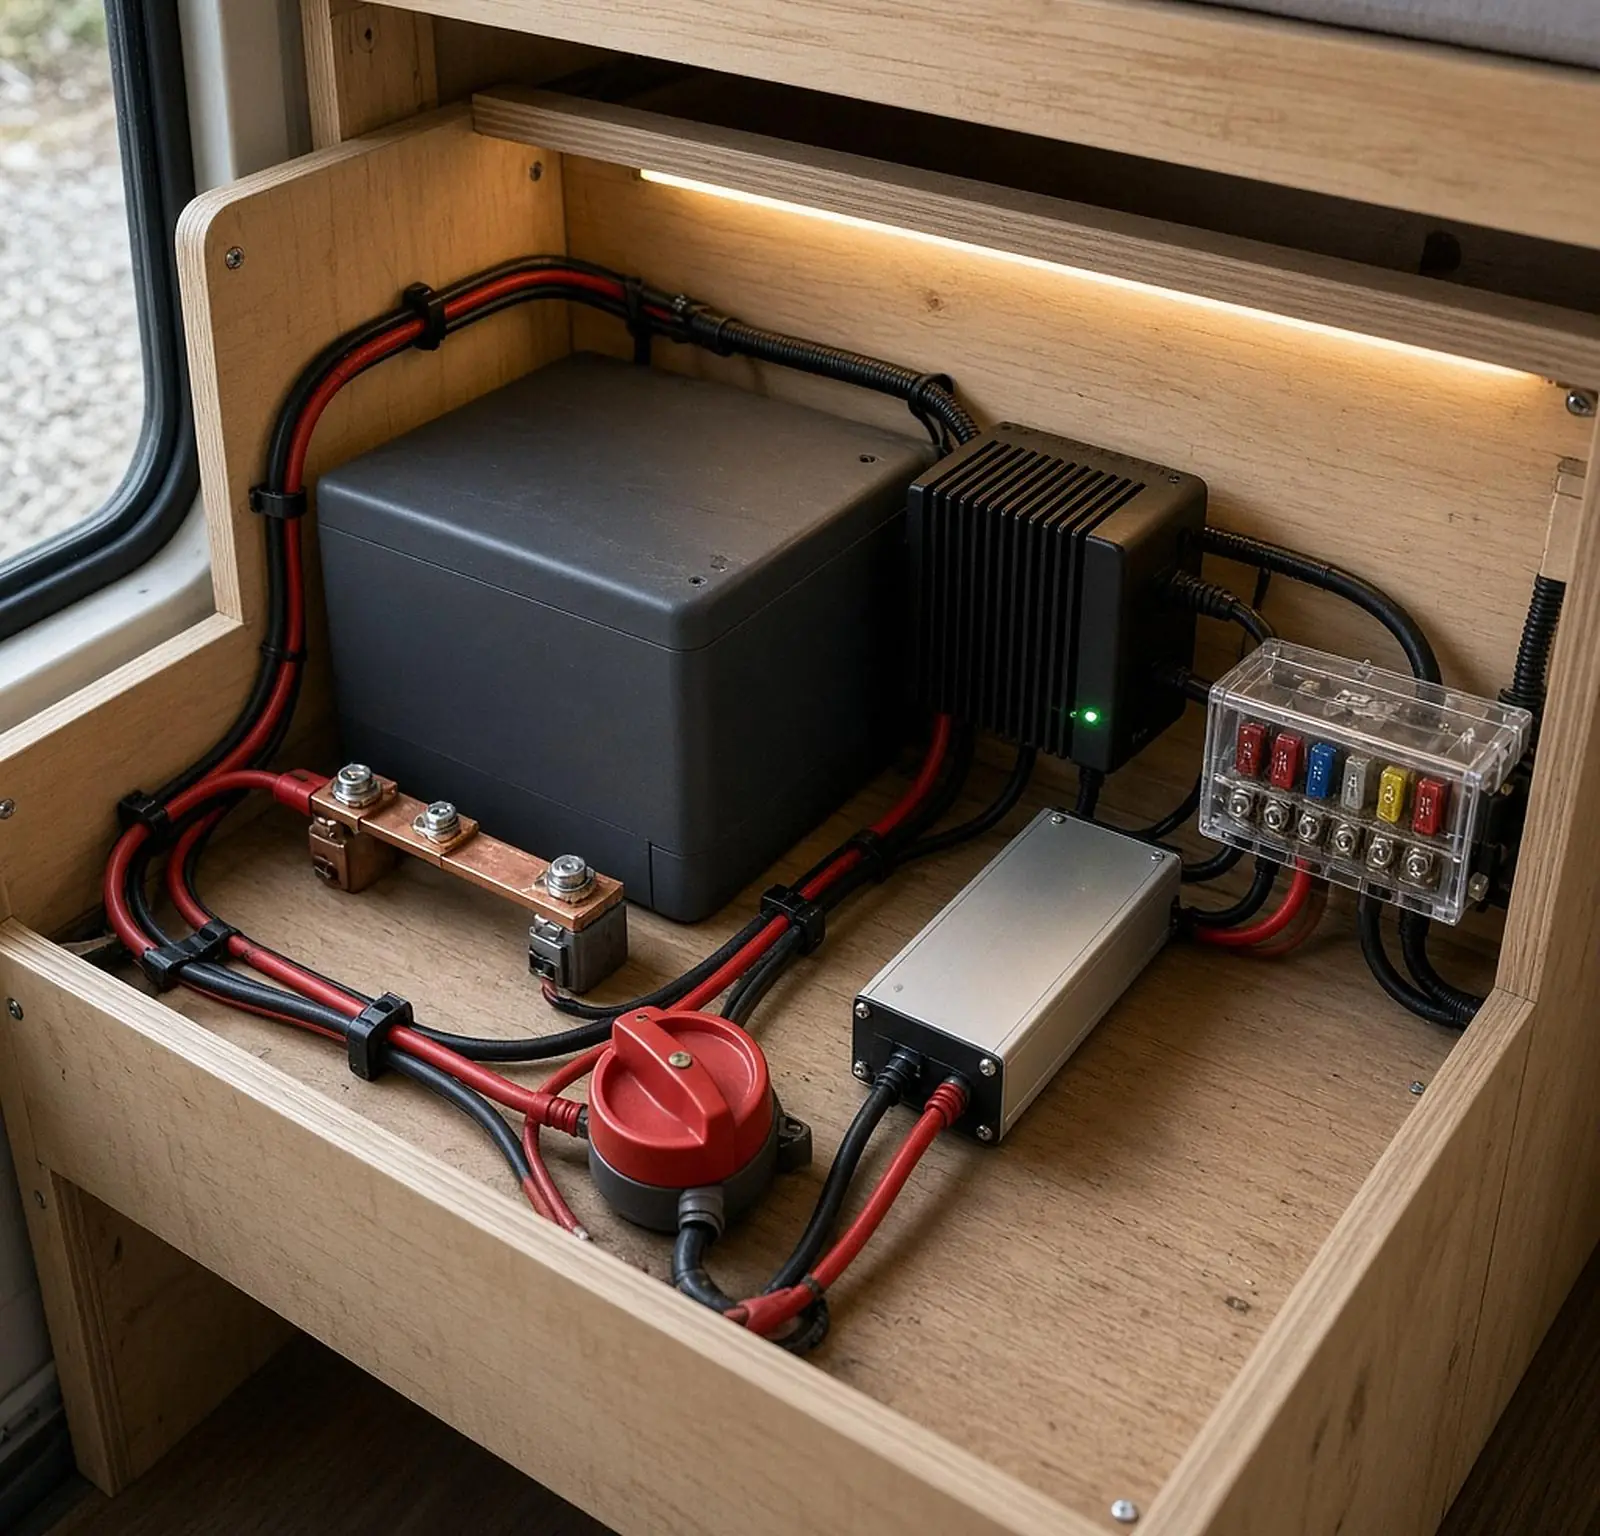
How the system fits together
| Part | Job | Common choices |
|---|---|---|
| Leisure battery | Stores energy for the living area | AGM or lithium (LiFePO4) |
| B2B charger (DC-DC) | Charges the leisure battery from the alternator while driving | 20–50 A depending on the battery |
| Solar charge controller | Charges from the solar panels | MPPT |
| Mains charger | Charges from 230 volts at a campsite | A charger with the right charging profile for the battery type |
| Battery monitor (shunt) | Measures current in and out and shows state of charge | Shunt on the negative cable |
| Fuses and main switch | Protect the cables and let you isolate the system | A fuse close to every battery terminal |
| Inverter | Turns 12 volts DC into 230 volts AC | Pure sine wave, sized for the largest load |
Step 1: work out your daily consumption
List every load, its current in amps at 12 volts and how many hours a day it runs. Current multiplied by time gives amp-hours. The values below show how to calculate, they are not measurements: always read the label or the data sheet for your own appliances.
| Load | Current (A) | Hours/day | Ah/day |
|---|---|---|---|
| Compressor fridge (average) | per data sheet | 24 | current × 24 |
| LED lighting | per label | 4 | current × 4 |
| Water pump | per label | 0.3 | current × 0.3 |
| Diesel heater (running) | per data sheet | 8 | current × 8 |
| Charging phone and laptop | per adapter | 3 | current × 3 |
Tip Measure rather than guess. A battery monitor with a shunt shows exactly how many amp-hours you use per day, and after a few weekends you will know what your system needs.
Step 2: choose a leisure battery
The battery type decides how much of the capacity you can use. A lead-acid battery (AGM or gel) should not be discharged too deeply if it is to last, while a lithium battery (LiFePO4) can take a much deeper discharge. Always check the manufacturer’s figures for recommended depth of discharge and number of cycles.
| AGM | Lithium (LiFePO4) | |
|---|---|---|
| Usable capacity | Lower; deep discharge shortens its life | Higher; tolerates deep discharge |
| Weight | Heavier | Roughly half for the same usable energy |
| Cold | Can be charged in the cold | Normally must not be charged below 0 °C (32 °F) without heating or protection; read the data sheet |
| Charging | Standard profile | Needs a charger with a lithium profile |
| Purchase price | Lower | Higher |
A rule of thumb for sizing: the battery’s usable capacity should cover at least one, preferably two, days of consumption without charging. Weight matters too, because every kilo counts towards the total weight. Read more in the guide to weight and axle loads (in Swedish).
Step 3: charging sources
The alternator via a B2B charger
On older vans a simple split-charge relay that linked the batteries while the engine ran was often enough. Modern vans with a smart alternator vary the charging voltage, and Victron states that it can swing between roughly 12.5 and 15 volts. As a result, the leisure battery does not get fully charged. A B2B charger (DC-DC) solves this by giving a stable charging profile whatever the alternator voltage. The full explanation is in the B2B guide.
Solar panels
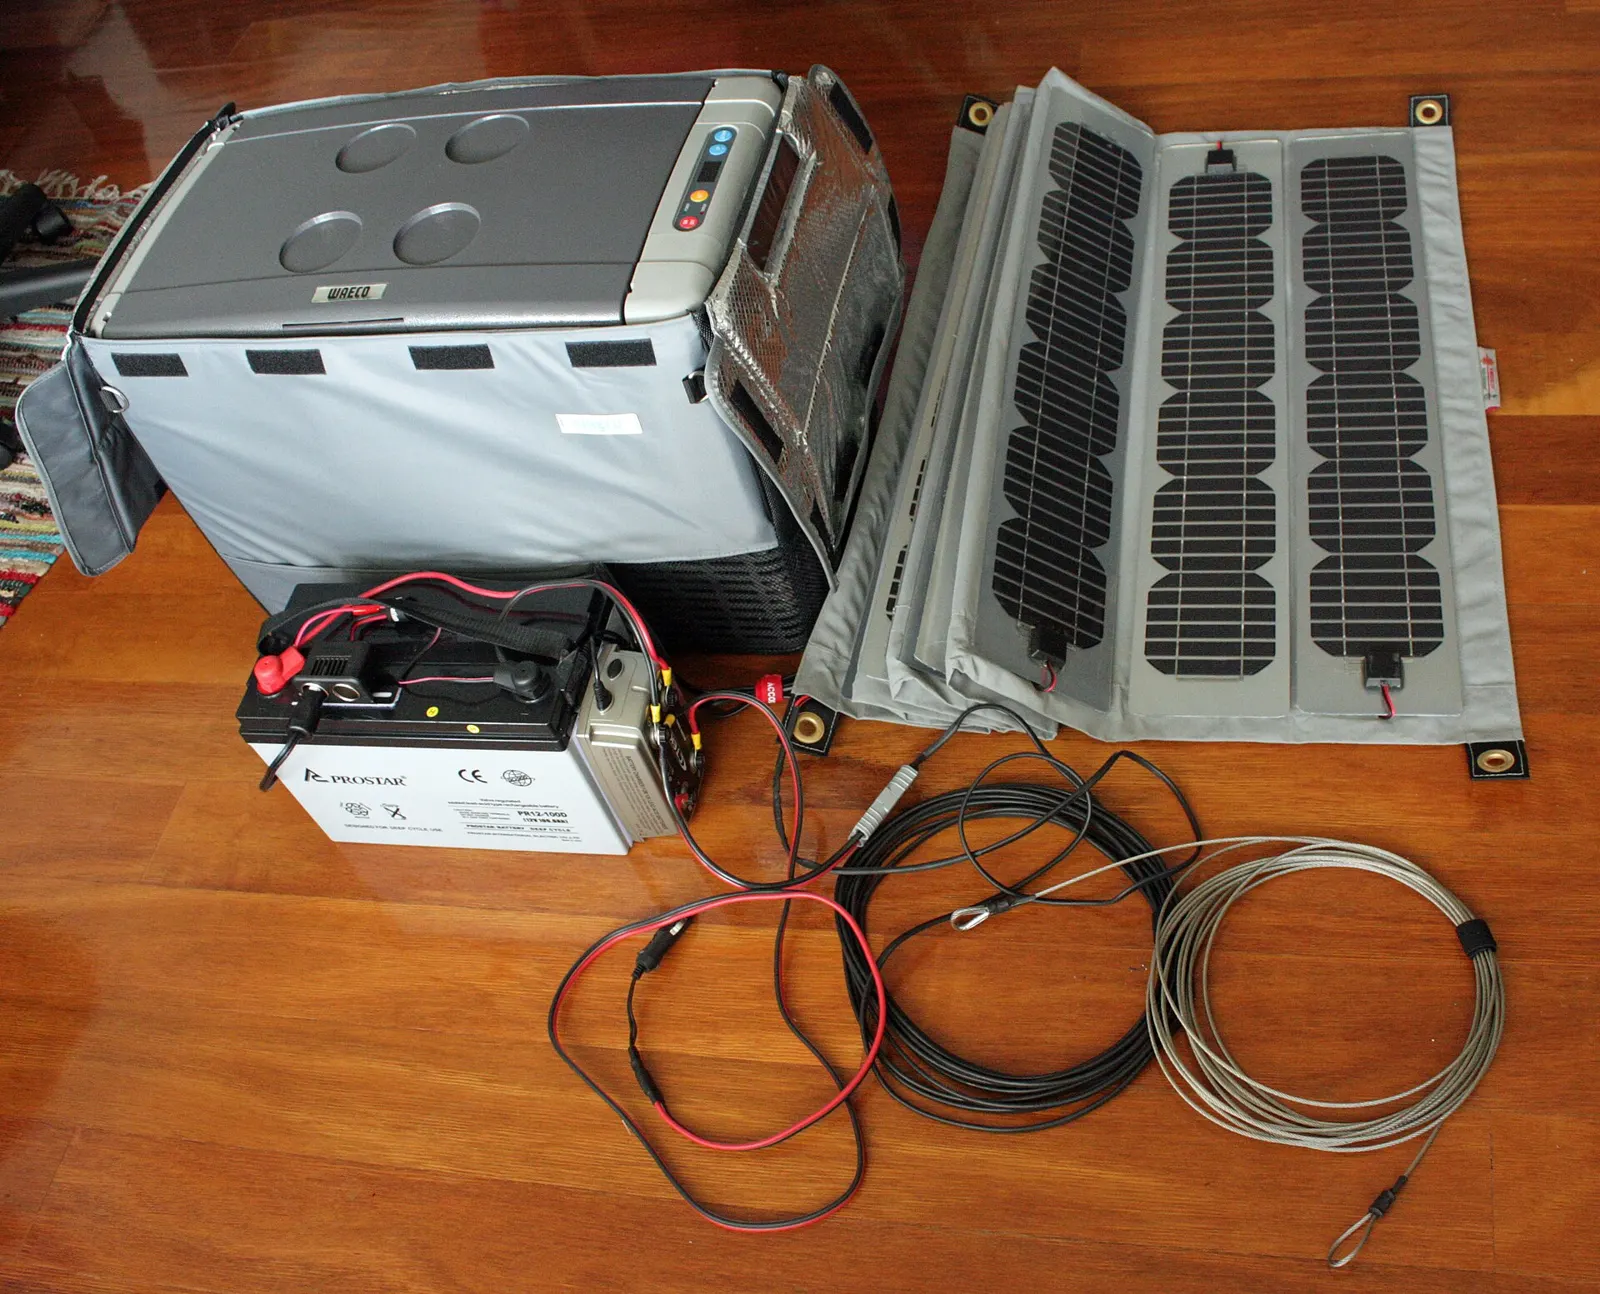
Solar panels give free energy while the van is parked, but output in Sweden varies hugely between summer and winter. Read how much solar you need for a way to calculate it.
Mains hook-up
Mains hook-up at a campsite supplies 230 volts to a battery charger and to any sockets. The incoming 230 volts should be protected by an RCD and a miniature circuit breaker (MCB). Under Swedish rules you do not need an electrician to install 230 V in a motorhome or campervan; that requirement applies to buildings. 230 volts can still cause lethal electric shocks and fires, so follow the manufacturers’ instructions and, ideally, have someone who knows electrics check the installation.
Step 4: cable size and fuses
Cable size is chosen by current and cable length, because the voltage drop becomes large in long, thin cables at 12 volts. Follow the manufacturer’s recommendations for chargers and inverters, and use a cable size table for 12 volts, such as the one in our guide to cable sizes and fuses for 12 V. The fuse should sit as close to the battery’s positive terminal as possible and be rated for the cable, not for the appliance.
Warning A lithium or AGM battery can deliver a very high short-circuit current. A short circuit in an unfused cable can start a fire within seconds. Fit the main fuse and the main switch before you connect anything else.
A safe 12V system: checklist
- A main fuse close to each battery’s positive terminal.
- A main switch so that the living area can be made dead.
- Cable size chosen by current and length, with a margin.
- Crimped cable lugs made with the right tool, not screw connectors.
- Cables protected against chafing where they pass through metal (grommets and conduit).
- Batteries strapped down so that they cannot move in a crash or under hard braking.
- Ventilation for lead-acid batteries according to the manufacturer.
- An RCD on the 230 volt side.
Step 5: an inverter, if you need one
An inverter turns the battery’s 12 volts into 230 volts. Choose its size by the largest appliance you will run at the same time, not by the sum of everything you own. Bear in mind that a 1,000 watt load draws roughly 80–90 amps from a 12 volt battery, which calls for heavy cable and a battery that can supply that current. Many people manage without an inverter by choosing 12 volt appliances and USB charging.
Common problems
- The leisure battery does not charge while driving: often a smart alternator without a B2B charger, or a fuse. See the troubleshooting guide.
- The starter battery is flat after storage: parasitic drain. Measure it, and disconnect the battery for long storage.
- The RCD trips on mains hook-up: damp, or a fault in an appliance or cable. Disconnect loads one at a time, and get help from someone qualified, such as an electrician, if you cannot find the fault.
- Warm cables or cable lugs: the cable is too thin or the crimp is poor. Fix it straight away.
Example system levels
The table shows three typical levels. It shows which parts are usually included, not exact sizes: always size the system for your own consumption.
| Level | Use | Typical parts |
|---|---|---|
| Basic | Weekend trips, cool box, LED, phone charging | One leisure battery, B2B charger, fuse box, possibly one solar panel |
| Mid | Holidays, compressor fridge, water pump, diesel heater | Larger battery, B2B, solar with MPPT, mains charger, battery monitor |
| Advanced | Remote working, induction hob or electric cooking | Large lithium battery, powerful B2B or alternator charging, lots of solar, inverter, fixed 230 V, ideally checked by someone who knows electrics |
Where to place batteries and components
- Close together: short cables between battery, fuses, B2B and inverter mean less voltage drop and cheaper cable.
- Strapped down: batteries are heavy and must be secured so that they cannot fly around in a crash.
- Dry and above freezing: lithium batteries are happiest inside the living area, where it does not drop below freezing while the van is in use.
- Accessible: you should be able to reach the main switch and fuses quickly.
- Ventilated: chargers and inverters get warm and need air. Lead-acid batteries can give off gas while charging.
- Weight distribution: place heavy batteries low and between the axles. See weight and axle loads (in Swedish).
Plan the electrical system in the right order
- List the loads and work out daily consumption.
- Choose battery type and size.
- Choose charging sources: B2B first, then solar and mains hook-up.
- Draw a wiring diagram with fuses and cable sizes.
- Plan positions and cable runs before you insulate and line the walls.
- Fit the main fuse and the main switch first, then the rest.
- Have someone who knows electrics check the fixed 230 volt installation.
- Test everything and document it for the inspection and for future fault-finding.
Tip Run cables and empty conduit before the insulation and wall panels go in. Adding a cable later is much easier if there is already a conduit in place.
Work it out yourself: the solar calculator shows how much solar energy a panel gives per month, and the DC-DC charge time calculator shows how long the B2B charger needs.
The electrical system is part of the conversion. See the rules for building a campervan and the requirements for passenger car class 2 (Swedish rules).
Frequently asked questions
How big a battery do I need in a motorhome?
Work out your daily consumption in amp-hours and choose a battery whose usable capacity covers at least one, preferably two, days. Usable capacity depends on the battery type.
Can I install the electrics in my campervan myself?
Under Swedish rules, yes. You do not need an electrician to install electrics in a motorhome or campervan, neither for 12 nor for 230 volts; that requirement applies to buildings. Rules may differ in your country. 230 volts can be lethal, so use an RCD and, ideally, have someone who knows electrics check that part.
Do I need a B2B charger?
If the van has a smart alternator, which most modern vans do, a B2B charger is the reliable way to charge the leisure battery fully while driving.
Is a lithium battery better than AGM?
Lithium gives more usable capacity per kilo and tolerates deeper discharge, but costs more and needs the right charging profile and protection against charging below freezing.
Do I need an inverter?
Only if you are going to run 230 volt appliances. Many people manage with 12 volts and USB, which is more efficient.
Sources
- Elsäkerhetsverket (the Swedish National Electrical Safety Board), Säker el på semestern (in Swedish; “Safe electricity on holiday”). English overview: Electrical safety in Sweden.
- Victron Energy, Orion-Tr Smart DC-DC Charger, manual (smart alternator)
Last checked: October 2026. Always follow the manufacturer’s instructions for batteries, chargers and the inverter.
New checklists and guides, plus reminders before winter storage and inspection. A few emails a year, nothing more.
The content is based on my own experience and the rules that applied when the text was written. Rules can change, and I am not responsible for factual errors or rule changes that affect your build or maintenance. Read the full disclaimer.

Linus Thell
Founder of Camperliv.se. Has worked with vehicles for essentially all of his adult life.
Read more about Linus →